Bobbex 101

Bobbex 101

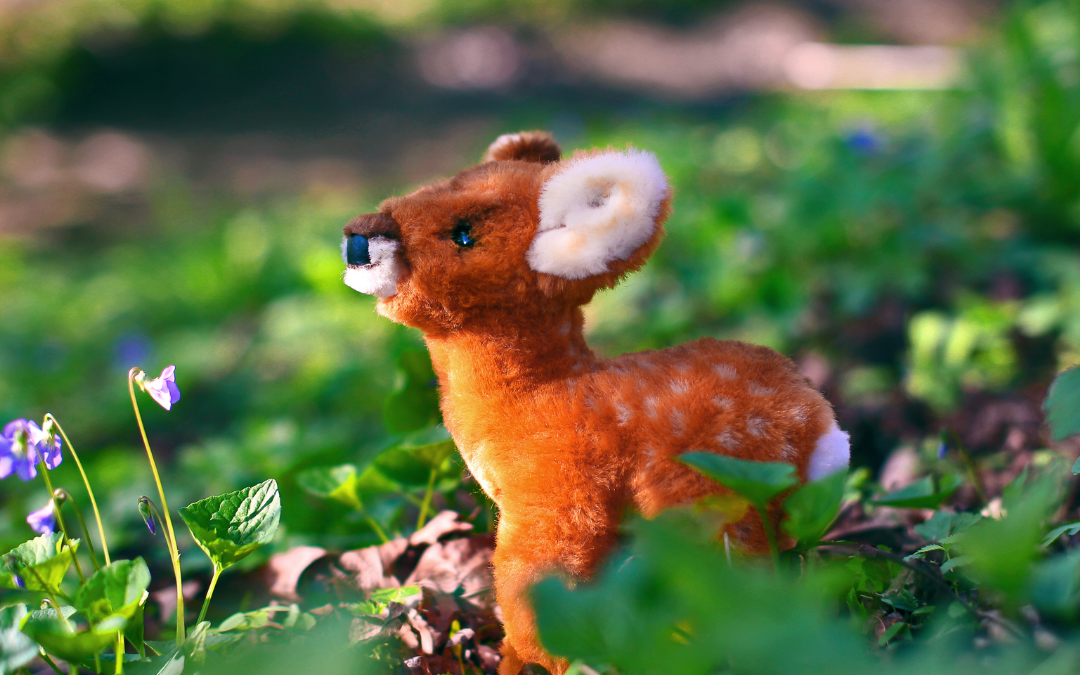
Deer Repellent has come a long way to ensure that the safety of ourselves, the deer and our plants are the top priority. If you’re in the market for an effective deer repellent, we’ll share everything there is to know about our favourite product, Bobbex! Plus, follow along as our President Gord Nickel shows us a few special Remembrance Day bulbs and how he keeps them deer-free!

What is Bobbex?

Bobbex is an eco-friendly solution designed to deter deer, rabbits, squirrels, chipmunks, and groundhogs; you name it! Unlike most pest deterrents that are filled with unsafe chemicals that can harm pets, humans and plants, Bobbex is eco-friendly and safe for everyone when used as directed.

Long-lasting and easy to apply, Bobbex is a natural solution that provides your plants with nutrients. Meaning you can never over-spray your plants! Once used, it’s there to stay. Lasting through rain or snow for weeks and even longer during dormant seasons.

How Does It Work?

Well, it doesn’t smell like roses, that’s for sure! Bobbex is formulated with a wide variety of natural ingredients, including fish meal, fish oil, garlic, clove oils, putrescent eggs and more. As you can imagine, it’s not a pretty smell, and that’s precisely why it frightens and naturally repulses pests like deer.

With additional Nitrogen and Phosphorus properties, Bobbex is highly beneficial for plant growth. One of the best reasons to use Bobbex verse other chemical-based repellents is that it offers twelve nutrients that, once sprayed in a clear coat, can provide plants with additional moisture retention. Keeping them happy and healthy even during droughts!

How To Use Bobbex

Used as a topical spray, it is essential to note that Bobbex shouldn’t be used on ripened plants (you can only imagine what the solution must taste like!). It should not be digested. 

Bobbex is often applied approximately every two weeks during peak growing season or when two inches of growth have developed. Once dormant season approaches, less frequent applications are necessary as the plant grows much less.

To apply Bobbex, be sure to follow the instructions on the label. For best results it is recommended to use a pressure washer. Once applied, Bobbex will take approximately six hours to dry, where the smell will also become almost undetectable to the human scent but remain strong to critters.

Spring Application 

Begin by spraying in the Spring when the plants are approximately ½ inch out of the ground.

Summer Application 

Bobbex should be sprayed in the early morning rather than in the day’s extreme heat. Plants may encounter phytotoxicity if spread when temperatures are above 85 degrees F. This is not due to the ingredients in the product, but rather the magnification of the sun through the water spread on plant’s surfaces. During Peak Growth season, application of Bobbex Repellents should be done about every 7 to 14 days, or when one to two inches of new growth has developed.

Fall Application

Bobbex should be used in fall months even though plants are no longer at their peak. If applications of Bobbex are interrupted, deer may lose their conditioning to avoid previously treated plants. Regular spraying of Bobbex trains deer to seek nourishment elsewhere. Bobbex is necessary in the fall (and winter) months for damage prevention to shrubs that keep their leaves throughout the year. These shrubs include rhododendrons, arborvitae, holly, and yews— all common plants that deer prefer the most!

Winter Application

Winter application should not be done below 35 degrees F. Water freezing on leaves can draw out moisture, harming the plant and causing browning along leaf edges. (This cautionary recommendation should be followed for all water based horticultural products.) During winter (dormant) season, Bobbex Repellents will endure much longer, (up to two months) so less frequent application is required.

Note: Bobbex will not stick well to wet surfaces, so be sure to apply to only dry plants.

 Ask Gord Nickel

Have a suggestion or question?
Let us know at info@wildwoodoutdoorliving.com.
Sign up here for more blogs dedicated to better gardening!
 
2022 November Gardening Tips

2022 November Gardening Tips

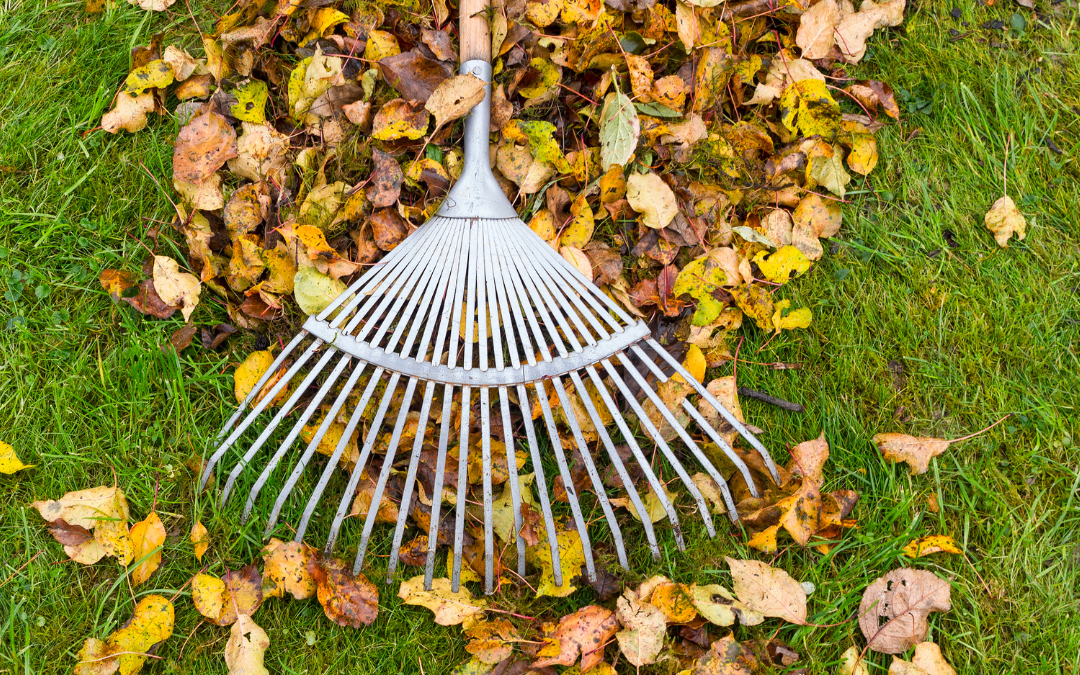
It’s November 2022 and another beautiful gardening season is coming to a close, but not just yet! There is lots you can do in November to improve your garden for next year. Check out our handy list of November to-do’s to keep you growing and outside before snowfall in this week’s blog November Gardening Tips!

Lawn & Pond

If you run your pond pump during the winter, raise it on to a ledge in the pond to recirculate only the top layer of water.
Remove pond netting and clean the bottom of the pond after the leaves have fallen.
Clean the skimmer basket. Check less often after all the leaves have fallen.
Trim waterlilies two inches above the crown and move to a deeper part of the pond.
Add cold-water beneficial bacteria.
If keeping your pond running during the winter, add pond de-icer.
Last chance to apply fertilizer to your lawn!
Maintain a clean lawn by removing leaves, toys and tool to keep it healthy.
As long as the grass is growing, keep mowing!

Plants

Keep watering plants as needed until frost.
Continue weeding as much as possible.
Divide overgrown perennials and replant. No room? They make a good Christmas present in a pot for a gardening friend (make sure to tag them).
Start paper whites and other indoor forcing bulbs for Christmas color. They need approximately seven weeks to bloom.
Plant evergreens, perennials, containerized fruit & shade trees.
Prune back Rose of Sharon and P.G. hydrangeas. Tidy up perennials.
The best selection of fall bulbs is available now. Wildwood Outdoor Living has the largest selection around, online and in-store! Be sure to plan out your garden ahead of your visit to make sure you have the right growing conditions for your bulb choices.
Add organic compost to beds and borders.
Cover your compost piles to retain nutrients.
Start seeds indoors according to your region!

Miscellaneous

Tie up cypress and globe cedar trees so heavy snows will not destroy their shape.
Construct a comport bin and create your own organic rich soil with garden refuse and leaves. Use Rot-it to quicken the process.
All your bulbs should be dusted with sulfur or bulb dust prior to storing them away.
Before storing all your tools, use rubbing alcohol to disinfect and clean them. This will prevent rust and disease.
Looking for more to do this November? Check out the latest episode of Get Up and Grow with our President, Gord Nickel to learn a few helpful tips for planting fall bulbs below!
Have a suggestion or question?
Let us know at info@wildwoodoutdoorliving.com.
Sign up here for more blogs dedicated to better gardening!
 
How to Use Moss Poles

How to Use Moss Poles

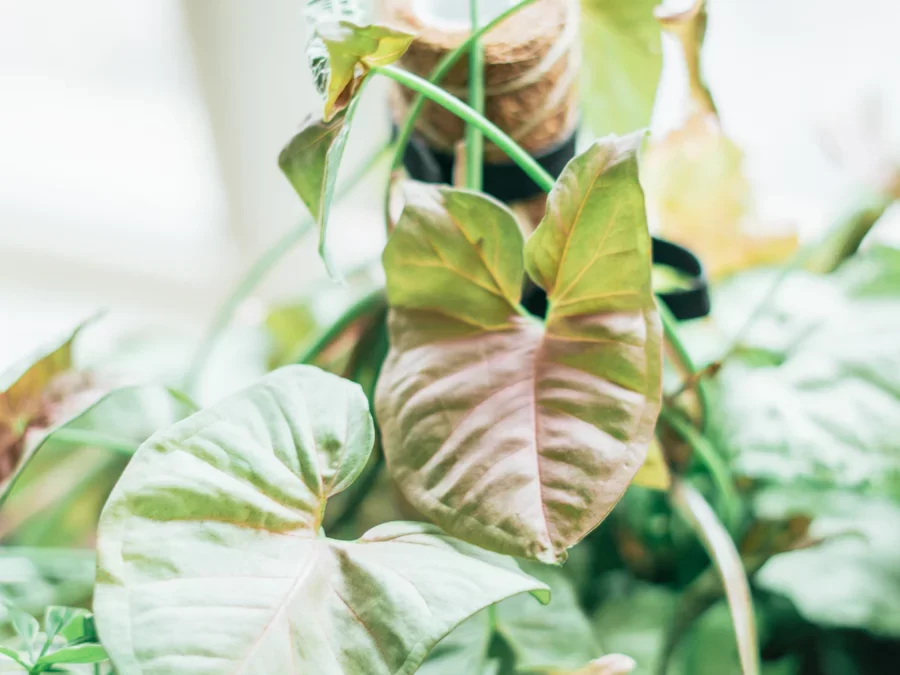
Are you tired of picking your plants up off the floors to clean your house? Or maybe you envision creating as much greenery as possible in a small space. In this week’s blog, we’re here to help your plants with a little ‘pick me up’ by showing you how to use one of our favourite tools, moss poles! From start to finish, our President Gord Nickel teaches Hannah Lepine his approach to using moss poles, plus we break it down for you in this week’s blog, How To Use Moss Poles!

What Are Moss Poles

Moss poles are a great tool used for helping plants grow in a specific direction. Most commonly, you can use moss poles to help plants to grow upwards instead of down. To do this, the moss pole is created using encased natural moss and plant wiring. This allows the pole to come in various widths and lengths for many different plant styles while also providing flexibility to bend in the direction you choose.

Not only do moss poles create direction and support for your plants, but the moss provides extra macro-nutrients that your plant would naturally get from living in the tropics. Plus! They retain moisture which is a fantastic way to add humidity.

Tip: Be sure to research your plant’s full growth potential to decide which size pole you need.

When to Use Moss Poles

Using a moss pole isn’t for all plant types. Generally speaking, you’ll want a plant that grows longer than halfway up a small moss pole which is usually 16″ tall. Moss poles perform best on plants that trail or vine. The most common plants include Monestera, Philodendron and Pothos!

Tips: Be sure to pair the moss pole size for your plant with a sizeable pot to ensure the plant doesn’t tip over once it’s nice and tall!

How To Use Moss Poles

Have a suggestion or question?
Let us know at info@wildwoodoutdoorliving.com.
Sign up here for more blogs dedicated to better gardening!
 
Hyacinths 101

Hyacinths 101

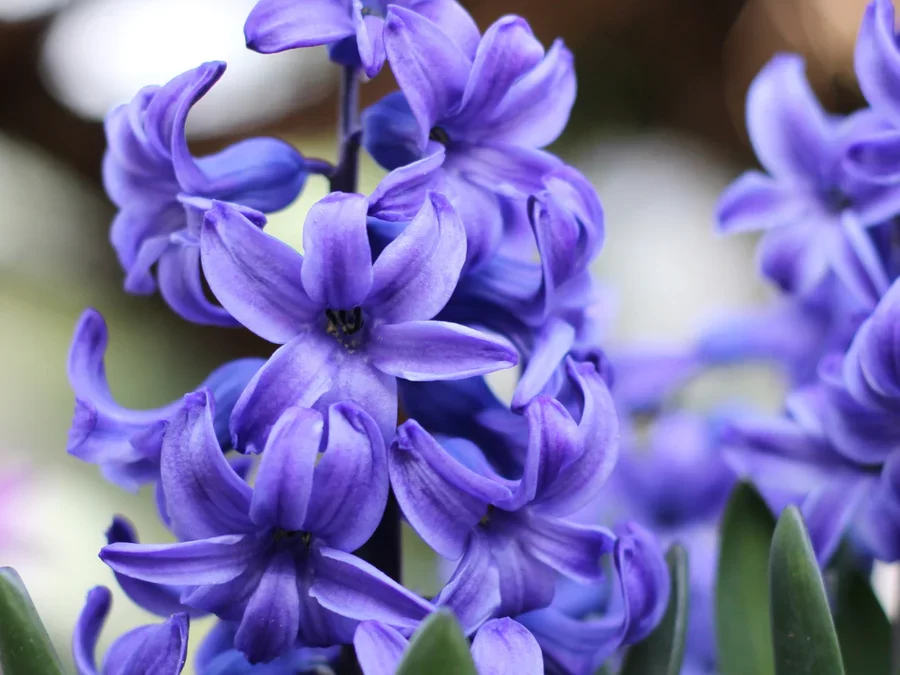
The flower of the sun god Appollo. Hyacinth represents the flower of peace, beauty, commitment, pride and pride. These Mediterranean natives can grow worldwide in both garden beds and containers. Learn everything there is to know about Hyacinths in this week’s Blog, Hyacinths 101! Plus follow along as our President Gord Nickel shows us his favourite tips and tricks for growing Grape Hyacinths at home.


About Hyacinths

Hyacinth bulbs produce some of the best fragrances for spring! They grow in a cluster of flowers along their stalk and come in a variety of vibrant and pastel colors. Hyacinth flowers work well in perennial gardens, flower beds, walkways, and cut flower arrangements.

Early to mid flowering, Hyacinths prefer full to partial sun. Plant your hyacinth six inches deep and four inches apart from September until December with ten inch blooms appearing from March until April.

Performing great indoors or outdoors, hyacinths are deer resistant and grow well in containers. For added interest, try planting your hyacinths with Royal Star Magnolia! The similar bloom times of Hyacinths Magic Carpet ride and Magnolias will create a forever favourite display for years to come.

How To Plant Hyacinths

To enjoy plant your very own hyacinths below, try our easy to follow instructions to get started while the timing is right.

1.) Plant your hyacinth bulbs when the soil is 15C in well-draining soil with full sun or partial shade. Typically from September until December.

2.) Plant the bulbs six inches deep and four inches apart, with the pointed side of the bulb face up.

3.) Water your bulbs well and wait for spring!

Have a suggestion or question?
Let us know at info@wildwoodoutdoorliving.com.
Sign up here for more blogs dedicated to better gardening!
 
Top 5 Tips For Planting Fall Bulbs

Top 5 Tips For Planting Fall Bulbs

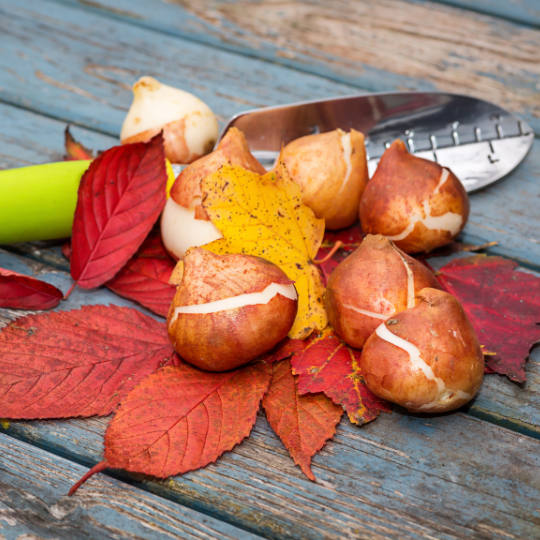
When one season ends, another begins! And you know what the best thing to plant in the fall is? Fall bulbs! On the latest episode of Get Up and Grow, our President Gord Nickel teaches Hannah Lepine everything she needs to know to plant all her favourite spring flowers now, while the timing is just right. Check out our Top 5 Tips for Planting Bulbs below, and follow along for expert advice on growing your best bulbs.


Tip #1 – Space

When planting your fall bulbs, map out your garden for adequate space. Each type of bulb you grow requires a specific amount of space which can normally be found on the bulb’s packaging or description. Suppose you’re ever unsure how to space your bulbs. A general rule of thumb is to plant smaller bulbs closer together (approx. 4 inches) while planting larger bulbs further (approx. 5 inches).

Tip #2 – Naturalize

If you’re not particular on where your flowers grow, grow more of them! Naturalizing refers to “informal” or natural growth patterns. Look for bulbs that are  “great for naturalizing” and watch them multiply! These self propagating plants create sweeps of large flowers and are ideal for mass landscaping.


Tip #3 Colour Planning

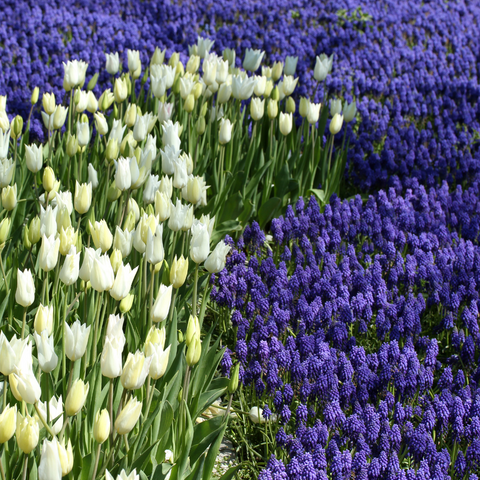
There are a few tips for creating jaw-dropping displays to get an extra pop of colour in the garden. One of our favourite tips for planting bulbs is simply referring to a contrast colour chart. Adding contrasting displays will not only create a more vibrant burst of colour but will also add depth. When planting contrasting colour displays, try to layer your blooms with shorter rows in front of tall flowers for the best views!

Bonus tip: Try planting white flowers in shady areas to make it appear lighter.

Tip #4 Timing

It’s always the best time to plant fall bulbs in the fall, right? That is not always true. An essential aspect of planting fall bulbs is to plant them five to six weeks before the ground freezes, which can be different for every region. To make sure your bulbs are going to perform their best, make sure they establish their roots while the soil is still warm by monitoring the expected frost in your region and planting them before it’s too late.

Tip #5 Containers

Planting fall bulbs in a container is just as easy as it is to plant them in the ground. The great part about planting your fall bulbs in a container is that you can plant almost every type of fall bulb there is. Even better, you can layer your fall bulb arrangement in your container, giving you blossom after blossom! To start, choose a fall bulb assortment that will thrive in the environment you’re going to place them in. If you have plenty of sun, you’re in luck and you can choose just about any bulb you like. If your container will be placed in shade for most of the day, you’ll want to consider bulbs that can tolerate shade, like SnowdropsCrocusesScilliaDaffodilsor Fritillaria .

layered fall bulb container

Have a suggestion or question?

Let us know at info@wildwoodoutdoorliving.com. Sign up here for more blogs dedicated to better gardening!