Have a suggestion or question?
Let us know at info@wildwoodoutdoorliving.com.
Sign up here for more blogs dedicated to better gardening!


While it’s time to take your garden indoors, we thought you might want to try something new and exciting this indoor growing season. Microgreen Pea Shoots! They grow quickly, ensuring that you can enjoy their wonderful benefits in no time. Learn everything this is to grow your very own Microgreen Pea Shoots below, to get growing this winter season!
Microgreens are delightful baby salad greens that are similar to sprouts, but they’re grown in soil. Unlike sprouts, which require quick germination to prevent rotting of the seeds, microgreens can be sown just like any other herb or vegetable seeds. This means that even those seeds with longer germination requirements can still be cultivated as microgreens. Just imagine growing basil, carrots, spinach, and other delicious edible greens! Learning how to grow Microgreen Pea Shoots are truly valuable because you can cultivate them indoors throughout the winter season for a nourishing supply of fresh vegetables.
Pea shoots are truly incredible when enjoyed in their natural raw state. You can also enhance their deliciousness by tossing them with a flavorful sesame-based dressing or adding them to stir-fries towards the end of cooking, preserving their wonderful crunchy texture. We carry the highly sought-after Dwarf Grey sugar variety, known for its exceptional quality and delectable flavor of thick, rapidly growing shoots. However, it’s worth noting that any type of pea seeds can be used to cultivate these delightful microgreen pea shoots. It’s a fantastic product to experiment with alongside kids as these greens grow surprisingly fast. Not only are they sweet and tasty, but they also pack a nutritional punch!
Indoor gardens have their own advantages when it comes to simplicity and control. Unlike outdoor gardens, you don’t have to worry about unpredictable factors that could hinder or enhance your success. Sprouts, for example, can easily be grown by rinsing the seeds with water repeatedly. It’s a quick process that can be completed within a few days since you typically choose plants that germinate rapidly. On the other hand, microgreens are grown in soil and harvested once their first leaf or leaf pair appears. With microgreens, there is no rush as they grow steadily in their natural environment.
Microgreen Pea Shoots typically take just two weeks to grow. It’s important to be patient and allow extra time for them to grow if needed. Additionally, keep in mind that microgreens can be grown year-round as long as they receive sufficient light.
To give your seeds the best chance of thriving, it’s important to follow the planting instructions for each variety. Some seeds prefer to be sown on the surface of the soil, while others need to be covered. For optimal results, we suggest using sterilized seed starting soil in shallow trays that have drainage holes at the bottom. If you’re interested in growing microgreens, you might consider using 12-cell plug inserts that can easily fit into seedling germination trays. Happy planting!
Tip: If you want to grow microgreens but don’t have traditional gardening pots, don’t worry! You can repurpose recycled plastic containers or clamshell packaging for this purpose. Just make sure to poke some drainage holes at the bottom for proper water flow. While using a seedling warmer can speed up germination, it is not absolutely essential.
When spreading the sterilized soil, it’s best to keep it at a depth of only 2-3 inches. This ensures that there will be enough space for the baby seedlings to grow their roots comfortably as you prepare for harvest time.
After planting the seeds, it’s important to keep the soil moist, similar to a wrung out sponge, but avoid allowing it to sit in water. You can use a mist sprayer to regularly spritz the soil and maintain the moisture level. A helpful tip is using seedling germination trays – you can place a second tray on top of the planted tray to trap moisture inside and prevent rapid evaporation.
Once you spot the first sprout emerging from the soil, it’s time to take action. If you have been using a seedling warmer, go ahead and remove the tray from it. Similarly, if you have been using a cover for your seeds, it’s time to remove that as well. Remember that bright light is crucial for healthy microgreen growth. During late spring to early autumn, growing microgreens outdoors under natural daylight conditions is ideal. However, when cultivating them indoors, especially during the short and dim days of winter, it becomes important to provide some form of supplemental light to ensure their proper development.
When it comes to harvesting microgreens, it’s best to wait until the first leaf pair fully opens and turns green. That’s when they are packed with the most nutrients. However, if you prefer, you can let them continue to grow and simply harvest as needed. Just keep in mind that the longer they are left to grow, the more roots will develop in the soil.
When they’re ready, you can gently remove microgreens from the soil and give them a gentle rinse until all the soil particles are washed away. You have the option to enjoy them as whole, including their roots. Alternatively, you can trim them with scissors and responsibly dispose of the used soil in your compost bin.
Now that you know just how easy it is to grow the highly nutritious Microgreen Pea Shoots, why not give them a try? Click here for our favourite Microgreen Pea Shoot seeds and be sure to keep us posted on your growing journey online through social media @wildwoodoutdoorliving.

Are you looking to add a touch of elegance and beauty to your garden? Look no further than ornamental alliums. These stunning flowering plants are the perfect addition to any garden, with their unique spherical blooms and vibrant colors. In this week’s blog, we will explore the world of ornamental alliums and discover how you can grow these magnificent bulbs in your own backyard! Here’s how…
Allium flowers have a unique growth pattern, with the blooms appearing on stalks that are typically leafless. These flowers are grouped together in a pom-pom arrangement at the top of the stem. Their appearance has been likened to a frozen firework mid-explosion, creating a visually striking and dynamic display.
Alliums are part of the Alliaceae family, which includes around 600-925 species of perennial bulbous plants. While not all of them are cultivated for consumption, many species are primarily grown for their stunning flower heads.
Alliums are incredibly attractive when planted in borders, beds, and pots. However, their true beauty shines when they are planted in clusters or groups. They are perfect for creating stunning cut flower arrangements and can even be used in dried flower displays. It’s no surprise that we have a deep affection for them!
Gardeners often opt for planting alliums in their gardens because they are highly attractive to bees and butterflies. It is worth noting that these plants are typically avoided by deer and rabbits, which may be attributed to the strong fragrance produced when the stems are broken.
Allium flower heads are a great option for dried flower arrangements. Unlike some other flowers, they do not produce multiple blooms, so you can leave the flower head on the plant until it naturally dries before cutting it for use in arrangements. This makes them a convenient choice for those looking to add some long-lasting beauty to their floral displays.
The allium flower is associated with the meaning of unity in the language of flowers. As a result, it is commonly exchanged between married couples and long-term friends as a symbol of their strong bond.
Whether you’re an experienced gardener or just starting out, growing allium bulbs is a rewarding and relatively easy task. With a wide variety of allium species to choose from, including Allium giganteum, Allium schubertii, and Allium caeruleum, there is sure to be a variety that suits your taste and preferences.
1.) Purple Sensation – If you’re new to growing alliums, a great option to start with is the widely loved and early-blooming variety called Allium aflatunense ‘Purple Sensation’. The raspberry-purple flowers have flower heads that are about 3 to 4 inches in diameter. They are supported by slender stems that measure 24 to 30 inches in length. A great choice for cut flower gardens!

2.) Allium Globemaster – The large-headed alliums, such as ‘Gladiator’, ‘His Excellency’, and ‘Globemaster’, are impressive flowers that can reach sizes as large as bowling balls, with diameters ranging from 5 to 10 inches. They are supported by sturdy stems that can grow up to 3 to 4 feet tall!

3.) Allium White Giant – There are two alliums with striking white flowers that are worth mentioning. The elegant ‘Mount Everest’ features beautifully pure white flowers measuring 5 inches in diameter and grows on tall stems. Despite its misleading name, the Allium nigrum (black onion) is highly recommended for creating all-white gardens. The flower heads of this plant have a unique vase-like shape rather than being perfectly round.

In order for alliums to thrive and bloom in the spring, they require a period of cold weather to establish their roots. Therefore, when you start experiencing the first signs of coolness in the air during fall, it is the ideal time to begin planting them. To grow Allium of your own, try following the steps outlined below for both in-ground and in-container planting!
To ensure optimal growth, it is recommended to wait until the outside temperature drops below 15C and the soil has cooled off. In the Northern regions, this typically occurs in September or October, while in the Southern regions, it usually happens in October or November.
Choose a location in your garden with soil that drains well and receives full sun exposure.
To plant allium bulbs, dig a hole about 4-8 inches deep and space them approximately 6-8 inches apart. Make sure to place the bulbs in the ground with their pointy ends facing upwards. This will ensure proper growth and development.
It is recommended to water your plants thoroughly and then wait until spring for further watering. This approach helps promote healthy root development and conserves water by preventing excessive moisture.
It is important to leave the foliage of alliums intact after they have bloomed. It should be allowed to wither and turn yellow before removing it completely.
With the exception of a few steps, planting Alliums in a container can be just as easy as planting them in the ground. The only difference being…
For effective drainage, it is important to choose a container that allows excess water to flow out easily. When filling the container, use loose soil and make sure there is no water pooling at the bottom. This will help maintain proper moisture levels for your plants.
To safeguard your plants during the colder months, it is advisable to bring your containers inside and store them in a cool location like an unheated garage or basement. This will provide them with the necessary protection.
Allium bulbs are resilient plants that are straightforward to cultivate. However, they do not tolerate excessive moisture well. If a bulb is submerged in water, it will quickly deteriorate. Therefore, it is crucial to prevent the soil from becoming waterlogged. Avoid areas where puddles remain visible for 5-6 hours after a rainstorm to ensure the optimal growth of your flower bulbs.
To improve waterlogged soil, you can incorporate organic material like peat, bark, or manure. The same principle applies when planting bulbs in containers – proper drainage is key. Make sure to choose a pot or box with sufficient drainage holes at the bottom.
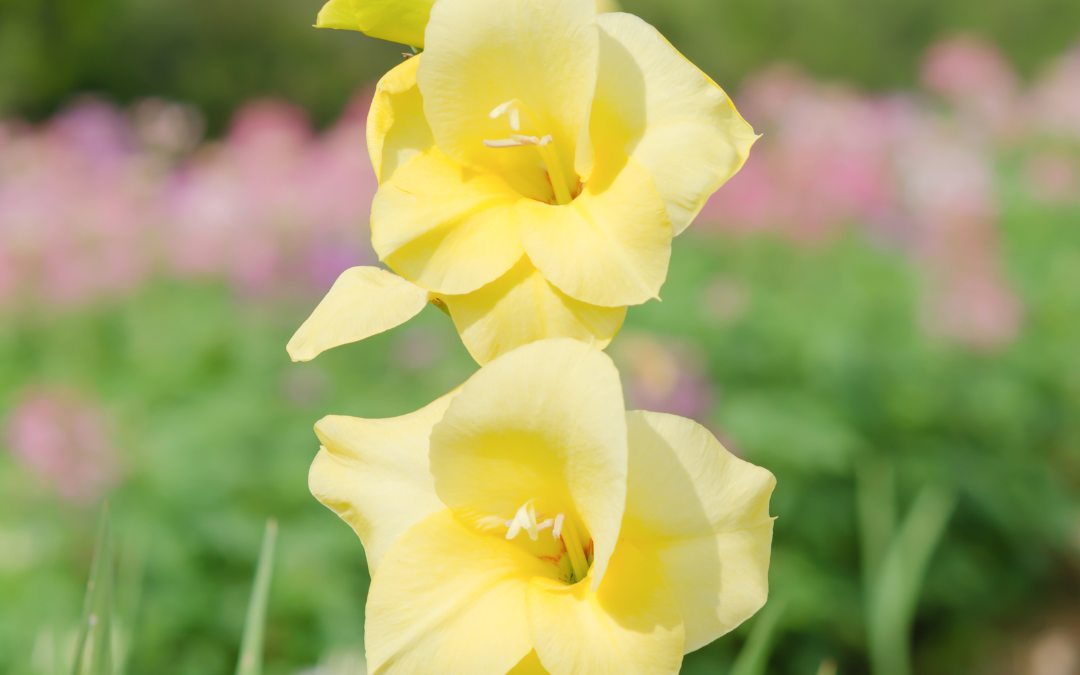
In this article, we will discuss everything you need to know about planting your own gladiolus in Canada. We will cover topics such as the meaning of the flower, its history, how to grow it, and more! With this information in hand you can confidently plant your own gladiolus and enjoy its beauty for years to come.

A member of the Iridaceae family, Gladiolus is typically referred to as “glads”. Available in various colors and sizes with huge spikes with a range of colors. The size of their flowers vary greatly – with some blooms being less than 3 inches across, while others can even exceed 5 inches in diameter! Popular varieties include…
Grandiflora Hybrids – The classic type of gladioli that create lots of big (5- to 6-inch) blooms in various hues. The flower stalks they produce can reach up to 4 feet tall and they can endure cold temperatures in Zone 7.
Dwarf Grandiflora Hybrids – If you’re looking for something to plant in your containers or cutting gardens, these cute little glads are ideal. They have flowers that are half the size of Grandifloras, so you don’t need to worry about staking their short stalks. These plants can withstand the colder temperatures of Zone 7 during the winter months.
Nanus Hybrids – Tough and hardy, suitable for Zone 5. They are similar to Grandifloras in appearance yet produce fewer blooms. Growing no taller than two feet, they make an ideal choice for containers or any small area.

Although it is believed that the Gladiolus flower originated in South Africa, some varieties can be traced back to Europe and the Mediterranean. Currently, these flowers are widespread globally. Generally referred to as ‘sword lilies’ because of their sharp and sword-like leaves. It’s also worth noting that the name “gladiolus” comes from Latin gladius, meaning ‘sword.’ Initially, people used some species of flowers for medicinal purposes. But, it is now known that parts of the flowers are toxic and can cause allergies or skin irritation when touched.

Gladiolus is a genus of perennial flowering plants that come in a range of vibrant colours. Every colour of gladiolus has a unique symbolism associated with it. With its beautiful blooms, gladiolus is an excellent choice for expressing emotions with flowers.
Red Gladioulus – Gifted for Valentine’s Day or wedding anniversaries as a symbol of passion, romance and love.
White gladiolus – Are a perfect way to convey clear feelings of clarity and serenity. For times like weddings, funerals or religious events, they make for an ideal present that represent purity and spirituality.
Yellow/Orange – Are known to bring good luck, joy and symbolize positive relationships & friendships.
Purple gladiolus – Symbolize grace, class, and beauty. They’re often presented as gifts during special occasions such as a new job or when someone moves to a new home.
Pink gladiolus – Representative of femininity, gentleness, and love. They are frequently offered as a gift on Mother’s Day date nights, or birthdays.
How To Grow Gladiolus

Taller plants like Gladiolus may need to be staked and are usually placed at the back of a garden to provide contrast against their shorter counterparts. This arrangement can bring out the best qualities of both types of plants and help create a stunning display.
Sun – For beautiful flowers, glads should be planted in an area where they receive 6-8 hours of direct sunlight per day.
Soil – Gladioli do best in well-drained soil that’s moderately fertile. They will not do well in heavy, soggy soil. Mix compost (humus) into your soil to improve its consistency and fertility.
Space – Plant gladioli up to 12-18 inches deep and allow 1 inch of space between each plant for root development.
Pests – Gladiolus corm rot, also known as Fusarium wilt, is an issue that can cause significant damage to gladioli. Other problems may include gray mold, viruses, aster yellows, spider mites, thrips and aphids. In order to prevent the spread of these issues and keep your plants healthy and thriving it is important to be aware of the signs of each one and how to treat them.
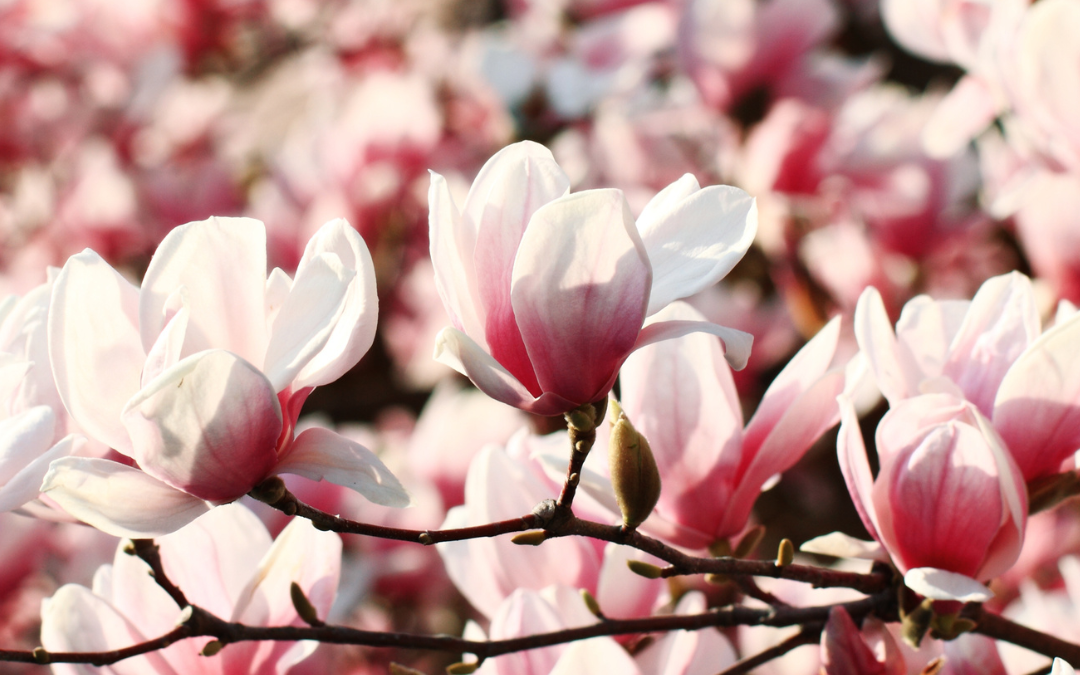
Magnolias add a burst of blooms to any landscape with their giant pedals in various shades of white and pink. Magnolia trees can range enormously in height; with a lifespan of 80-120 years, they can reach anywhere from 8ft to 60ft! This makes magnolia trees ideal for yards, as they come in all shapes and sizes. No matter how limited or expansive the space is, there’s a type of magnolia tree to fit your needs. In this blog, we’ll go over what it takes to grow a Magnolia tree of your own this Spring.

If you’re in a cold climate, the best time to plant magnolias is in early Spring. However, if you find magnolias available at your garden centre anytime throughout the year, it’s acceptable to go ahead and plant them. Evergreen magnolias are especially recommended for growth during this time as long as the soil is workable.
Magnolias require ample space to thrive and should stay put once planted. It’s best to keep the area beneath them clear of anything else as their falling leaves can smother plants, although they will decompose and act as a natural mulch that provides essential nutrients for the tree.
Magnolia trees prefer well-drained, nutrient-rich soil such as sandy, loamy or clay. When planting, consider the depth of its roots – which makes them vulnerable to damage caused by foot traffic and heavy soil compaction. Mulching can help keep the roots cool, especially in the early years after they are planted.

Regarding light requirements, evergreen varieties need full sun, while deciduous ones require some partial shade. Magnolias generally prefer full sun for optimal growth, but in areas with extreme heat or dryness, some shade is necessary to protect them from the intense afternoon sun.
After planting, providing your new tree with enough water is essential. Depending on the climate, watering should occur 2-3 times per week during cooler months and then once weekly throughout the growing season. For watering, use 2-3 gallons per inch of trunk diameter (3.0-4.4 litres per cm).
Tip: Although magnolia seeds and leaves aren’t toxic, they are not meant to be eaten. If your pet does consume parts of the tree, keep an eye out for any signs of indigestion or discomfort and seek advice from your vet.

Magnolia trees are a fantastic specimen, combining breathtaking flowers with lustrous foliage and an irresistible fragrance. Their unparalleled beauty and aroma can bring complete serenity to your garden. Now that you know how to plant your very own, all there is left to do is choose your favourite one!

Winter Flowering jasmine, or Jasminum Nudiflorum, is a beautiful variety of Jasmine that blooms during winter months in zones 6-10 from mid-winter until early spring. With bright yellow blooms, Winter Jasmine can provide a bit of extra cheer to get us through dark and cold Canadian winters. In this week’s blog, we’re here to share everything there is to know about Winter Flowering Jasmine! Plus, watch and learn as our own Gord Nickel shares a few tips and tricks for pruning your Winter Jasmine at home.

Belonging to the Oleacea family, Winter Jasmine is a deciduous shrub with a surprising relation to olive trees. Initially found in China and called ‘Yingchun’ meaning ‘the flower that welcomes Spring,’ Winter Jasmine is now grown worldwide in zones 6-10. When gifted with this beautiful bloom, it is said to symbolize feminity, inspiration, hospitality, love and community.

With long drooping branches, Winter Jasmine can grow up to four feet tall and seven feet wide unsupported, but with the help of good staking, they can reach as high as fifteen feet tall! So be sure to provide adequate spacing when mapping out the garden. If planted in the Spring, you can expect one-inch yellow blooms in the late winter. To do so, follow the care guide below and provide adequate pruning!
| Sun | Full to Partial Shade |
| Soil | Well-drained soil (chalk, loamy, clay, sand) |
| Zone | Zones 6 – 10 |
| Water | Water when the top inch of soil dries out |
| Fertilizer | For extra blooms opt for a slow release fertilizer such as Power Bloom |
| Note | Great for trellises and groundcover! |
TIP: Watch out for pesky mealybugs and aphids! Though this plant is often disease-free, some problems may occur with these insects. In this case, use a gentle insecticide spray such as Schultz Insect Spray.
Whether you decide to grow Winter Jasmine as groundcover, over fences, up trellises or along arbors, Winter Jasmine is a beautiful shrub that can provide pops of colour where, and especially when, you need it most. For tips and tricks on pruning your winter-blooming-beauty, check out the latest episode of Get Up and Grow to watch as our President Gord Nickel shows Hannah how to prune her Winter Flowering Jasmine plant in the latest Chek News episode ‘Winter Flowering Jasmine’ below.
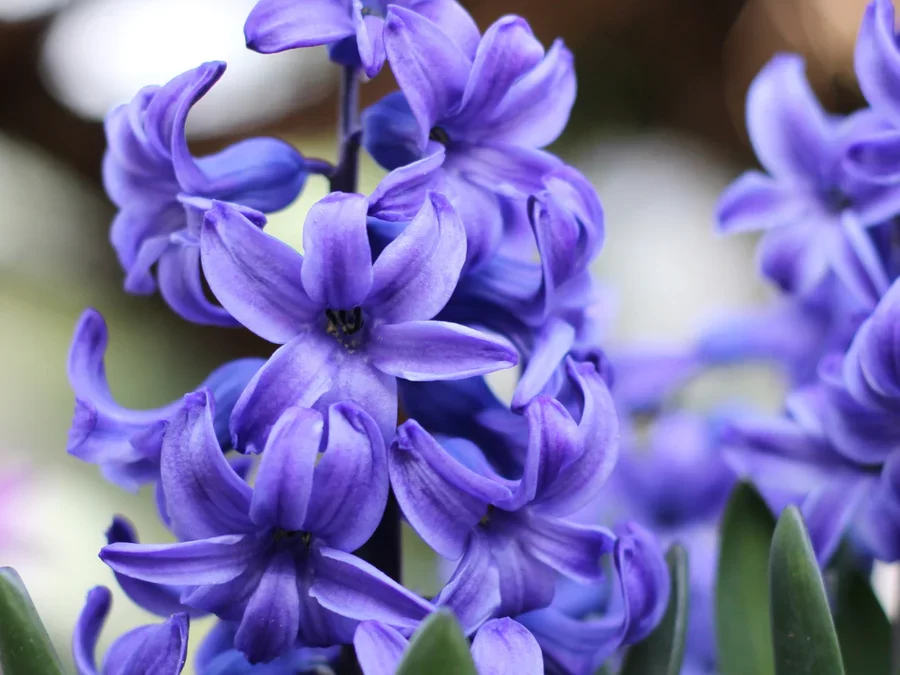
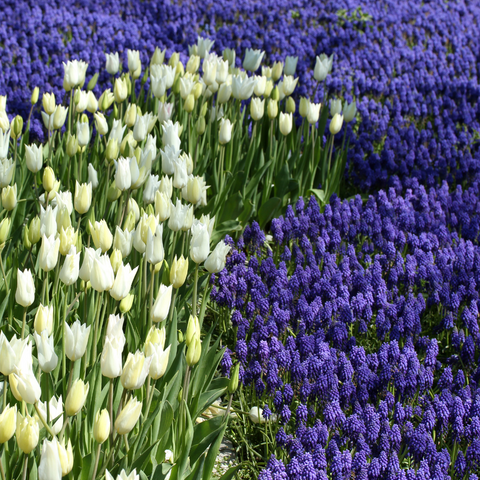
The flower of the sun god Appollo. Hyacinth represents the flower of peace, beauty, commitment, pride and pride. These Mediterranean natives can grow worldwide in both garden beds and containers. Learn everything there is to know about Hyacinths in this week’s Blog, Hyacinths 101! Plus follow along as our President Gord Nickel shows us his favourite tips and tricks for growing Grape Hyacinths at home.
Hyacinth bulbs produce some of the best fragrances for spring! They grow in a cluster of flowers along their stalk and come in a variety of vibrant and pastel colors. Hyacinth flowers work well in perennial gardens, flower beds, walkways, and cut flower arrangements.
Early to mid flowering, Hyacinths prefer full to partial sun. Plant your hyacinth six inches deep and four inches apart from September until December with ten inch blooms appearing from March until April.
Performing great indoors or outdoors, hyacinths are deer resistant and grow well in containers. For added interest, try planting your hyacinths with Royal Star Magnolia! The similar bloom times of Hyacinths Magic Carpet ride and Magnolias will create a forever favourite display for years to come.

To enjoy plant your very own hyacinths below, try our easy to follow instructions to get started while the timing is right.
1.) Plant your hyacinth bulbs when the soil is 15C in well-draining soil with full sun or partial shade. Typically from September until December.
2.) Plant the bulbs six inches deep and four inches apart, with the pointed side of the bulb face up.
3.) Water your bulbs well and wait for spring!