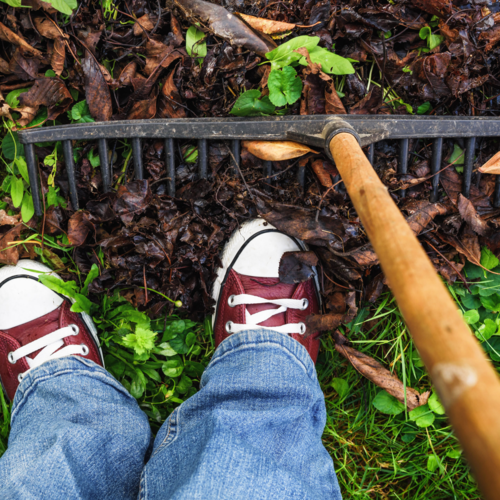
Depending on where you live, you might be faced with drastic seasonal changes. One day it could be a beautiful fall day and the next you could be buried under what feels like a hundred feet of snow! That’s why it’s always a good idea to get a good head start on your outdoor to-do list! Not only will you feel great getting things done ahead of time, but your spring self will thank you for turning a messy task into an exciting fresh start on a clean canvas!
October Checklist
Before looking at what needs to be done in November, let’s make sure we’re caught up with our October to-do’s. Here is a quick checklist for you to make sure that your garden is ready to take on November.
Remove pond netting and clean the bottom of the pond after the leaves have fallen.
Prune out all dead, diseased, and dying branches and leaves off shrubs and trees.
The best selection of fall bulbs is available now. Be sure to plan out your garden ahead of your visit to make sure you have the right growing conditions for your bulb choices.
Lower the blade on your lawn mower to keep grass cut shorter for fall. Keeping your lawn shorter in fall will prevent fungus like snow mold from forming in the spring.
Start taking fuchsias and geranium cuttings. This will allow your plants to become dormant during the winter, saving their energy for Spring.
Apply dolomite lime to prevent the soil from becoming too acid over the winter months. If the PH level is too high, your grass won’t be able to absorb nutrients properly.
Begin storing onions, carrots and beets in dry peat moss or “Beats Peat” to absorb excess moisture and keep them well insulated. This will also prevent small rodents like mice from getting to them.
Plant fall bulbs and fall perennials now, for beautiful spring blooms!
Use gypsum lime and organic compost in heavy clay areas to change into workable soil.
Apply Fall & Winter lawn fertilizer 6-10-20. For the best results, be sure to apply your fertilizer earlier in the month, between October 1st-15th.
November Checklist
No two gardens are alike. Which means you’re welcome to pick and choose what applies to you when it comes to transitioning your garden from fall to winter. We know that November isn’t the most exciting month for Gardeners because It’s a lot of prepping, storing, and tidying up. But, if you’re like us and don’t like wasting time when the weather is nice. It’s the perfect opportunity to give you a head start when spring comes. Here’s how we plan on getting a good start to our spring gardens.
Divide overgrown perennials and replant. No room? They make a good Christmas present in a pot for a gardening friend (make sure to tag them).
If you run your pond pump during the winter, raise it on to a ledge in the pond to recirculate only the top layer of water.
Start paper whites and other indoor forcing bulbs for Christmas color. They need approximately seven weeks to bloom.
Plant evergreens, perennials, containerized fruit & shade trees.
All your bulbs should be dusted with sulfur or bulb dust prior to storing them away.
Prune back Rose of Sharon and P.G. hydrangeas. Tidy up perennials.
Construct a comport bin and create your own organic rich soil with garden refuse and leaves. Use Rot-it to quicken the process.
There’s still time to apply dolomite lime to your lawn.
Tie up cypress and globe cedar trees so heavy snows will not destroy their shape.
Once you’re finished outside, bring your gardening indoors! A great way to garden indoors is by sowing seeds to create your very own starters. November is also a great time to get indoor plants on sale, as they can’t be shipped during cold months. Herb gardens are a key staple in many homes during the winter months and produce herbs quickly. Or, as Gord suggest below you could try forcing indoor bulbs to for beautiful indoor color during cold, gloomy months.
As the season begins to change from summer to fall, there’s a lot for us to look forward to as we unwind from the hustle and bustle of summer. The leaves changing, the kids going back to school, hot soups, cozy clothes, home décor, the kids going back to school and fall gardening! If the idea of fall gets you excited about a new planting season, you’re not alone. Fall is the best time for planting vegetables and fall bulbs. If you’re not excited about a new planting season because you live in an apartment and don’t have a lawn, we’ve got good news for you. Every year at Wildwood Outdoor Living Centre, we help more and more customers with their fall container planting. It’s increasingly popular, and we’re here to show you just how easy it can be. In this article, we’re going to share with you what there is to know about planting your own vegetables and fall bulbs in containers.
Fall Bulb Containers
Planting fall bulbs in a container is just as easy as it is to plant them in the ground. The great part about planting your fall bulbs in a container is that you can plant almost every type of fall bulb there is. Even better, you can layer your fall bulb arrangement in your container, giving you blossom after blossom! To start, choose a fall bulb assortment that will thrive in the environment you’re going to place them in. If you have plenty of sun, you’re in luck and you can choose just about any bulb you like. If your container will be placed in shade for most of the day, you’ll want to consider bulbs that can tolerate shade, like Snowdrops, Crocuses, Scillia, Daffodils, orFritillaria . Once you have your container, soil, and bulbs. You’re ready to follow these quick and easy steps!
1. BULBS – You’ll need to pick several different species of bulbs that have different bloom times to make this work. Small bulbs like snowdrops, rock garden narcissi or crocus for the top layer, mid- season flowering bulbs like narcissi or tulips for the middle layer and late-season flowering bulbs like tulips and alliums for the bottom layer.
2.CONTAINER – Now it is time to choose your favorite larger container- ceramic, plastic or even wood. For layered planting you want your container to be at least 14” deep. The other key to the container is that it must have good drainage. Bulbs can easily rot over the winter if the soil stays to wet.
3.SOIL – After you’ve selected your container, you can start to fill it with a few inches good quality potting soil (garden soil or topsoil are too heavy for in containers). Add a pinch of bonemeal.
4.LAYER 1 – Add your late season flowering bulbs which need to be about 12” below the rim of the pot, the bigger the bulb the lower the layer it is.
5. LAYER 2 – Once your bulbs are all in place- pointy side up and not touching the sides of the pot – it is time to add another few inches of soil covering the bulbs completely and then you add another pinch of bone meal before you put in your mid-season flowering bulbs which are now going to be about 8” deep. Be sure to have your soil under, over and in between all the bulbs so they aren’t touching the sides of the pot- don’t want them rotting or freezing!
6. LAYER 3 – Now for more soil, bone meal and your final layer of small early flowering bulbs which are going to be placed about 5” below the rim of the pot. Once you’ve placed the last layer of bulbs you can finish the pot off with some more soil and plant a few winter flowering pansies or violas to give you some added cheery colour until spring!
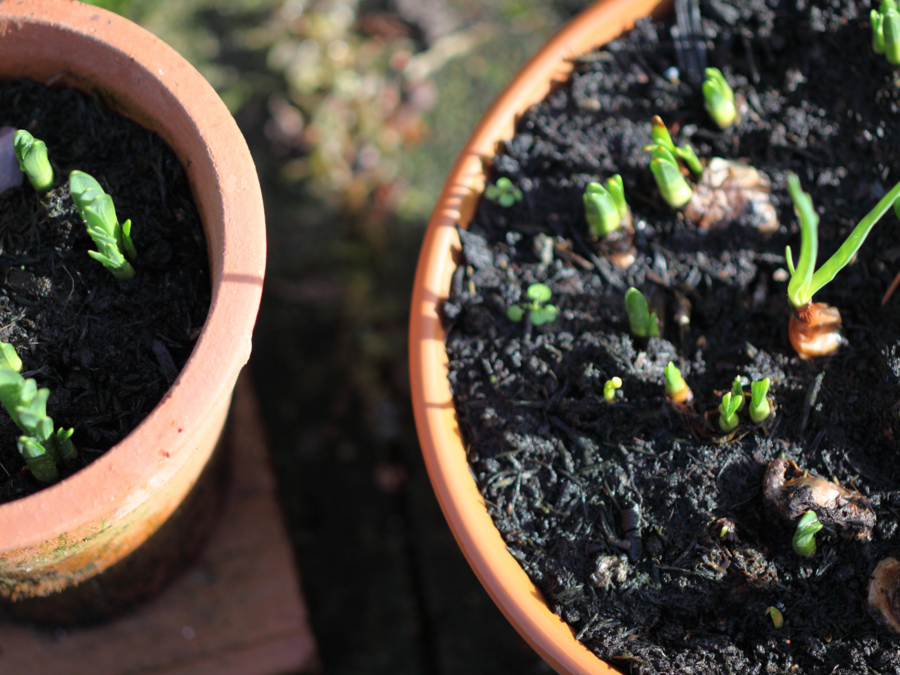
Now you wait for your masterpiece to appear! The bulbs will all start sprout up and flower at different times throughout the spring. Don’t worry about the smaller ones getting in the way of the bigger ones. All bulbs know the way to the surface and will avoid the others while getting there. Try one of these popular combinations for a perfect layered bulb arrangement.
When choosing the right container for your veggies, remember that small containers dry out quickly. Requiring you to water your veggies frequently without ever missing a watering. To make you and your plants happier, choose a large container but remember…the bigger the pot, the more soil, the heavier it will be. Make sure to plant your veggies right where the pot will stay, to avoid having to haul it across your house – if you can. When choosing your vegetables, you’ll want to consider how much sunlight your plants will get. For low light/partial shade vegetables, a few good choices for you would be Chard, Kale, Arugula, Spinach, Lettuce, and/orRadish. For plants that get full sun, try growing Beans, Tomatoes, Peas, Hot peppersand/orCucumber. Set yourself up for success by using the cheat sheet below to find the most compatible container veggies for your space.
Container Size
Harvest time
Light
Garlic
5 gallons
16-20 weeks
6-8 hours
Hot Pepper
5 gallons
8-13 weeks
6-8 hours
Cucumber
5-7 gallons
7-10 weeks
8 hours
Peas
3-5 gallons
8-10 weeks
4-5 hours
Beans
5 gallons
7-8 weeks
8-10 hours
Tomato
5 gallons
6-10 weeks
6-8 hours
Green Onion
1-2 gallons
5-7 weeks
13-16 hours
Radish
1 gallon
3-5 weeks
6 hours
Chard
5 gallons
4-6 weeks
3-4 hours
Lettuce
1 gallon
6-8 weeks
3-4 hours
For more veggie container inspiration, check out what Wildwood Outdoor Living Centre’s, President, Gord has to say below when it comes to hanging tomato baskets and growing baby lettuce, below.
Creating a fall garden is just as easy as getting the right size pot, soil, seeds and bulbs. Even if you live in an apartment, or you just don’t have the outdoor space you thought you needed. Fall offers the opportunity to grow and change with the seasons. Stay tuned for more container-friendly garden tips and tricks.
Do you have a container growing tip? If so, please send it to us at info@wildwoodoutdoorliving.com. We would love to share it!
Sign up here for more blogs dedicated to better gardening.