Bone Meal is one of those things that most gardeners have heard of but not many of us have really put any thought into. Bone Meal can sound like an aggressive name which makes it seem situational. However, it’s actually one of the most versatile fertilizers. It can be used on almost any plant and in almost any soil.
What is Bone Meal?
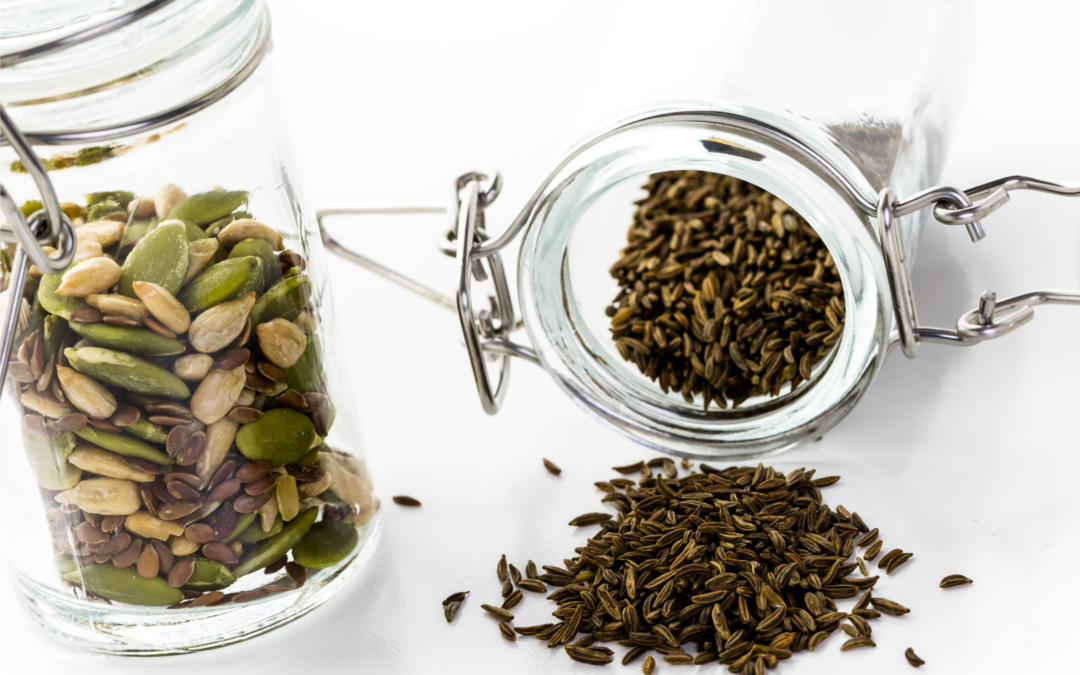
Bone Meal is exactly what it sounds like! It’s cooked or steamed animal bones that are then ground into a powder. Many types of animal bones are used, however beef bones are most common. These bone products are organic and a great source of the nutrients that our plants need to grow and flourish.
Bone Meal can provide a lot of benefits, such as:
- Greater fruit production and yield.
- Produces bigger and healthier blooms.
- Helps newly developing plants create stronger root structures.
- Helps protect plants from disease and pests.
Phosphorus
Phosphorus is one the major nutrients required by plants. It is a major part of photosynthesis and is largely used in crop production. It is needed in large quantities to produce fruits and vegetables. In animals, it enables the growth of strong bones. When it’s released back into the soil it helps create strong roots. So how does phosphorus enter the plant? The main way is that it is absorbed through the roots. The little hairs on a plants roots help pull the nutrients into the actual plant.

Source
Calcium and Nitrogen
I’m sure you can imagine that a fertilizer made from bones would provide calcium. Calcium promotes new growth for both roots and stems. It can also work to give you better tomato, pepper, zucchini, and eggplant yields by preventing diseases such as Blossom End Rot. The nitrogen in bone meal is usually quite low, however, it works to help round out the soil and give your plants that small but needed nutritional boost.
How to Use it
Bone meal is a favorite for many gardeners due to its slow absorption rate and the fact that it doesn’t burn the roots if you add too much.
Check the instructions on the package regarding how much you should add, but it is a good rule of thumb to use 1 tablespoon for every 2 square feet of soil.
After digging holes, add the bone meal to the bottom of the hole and mix it well. Lightly water the mixed soil so the bone meal can begin to break down.
Bone meal is great to use with bulbs, especially fall bulbs as they will need extra nutrients to help them grow after their cooling period and establish strong roots.
Things to Watch out for
Bone meal doesn’t have many downsides, but there are a few things that you want to be aware of:
- It is a slow-release fertilizer. It is preventative and planned, so it won’t show any immediate results.
- It needs to be mixed into the soil well. Since it is made of bones, it smells like food to a lot of animals. If you want to avoid scavengers digging in your garden make sure it’s mixed in well.
- It is mostly effective in soils with a PH below 7. Plants in Alkaline soil tend to absorb fewer nutrients. Make sure you test your soil before adding any fertilizers and adjust the PH level first. You can find an example of a PH soil test kit here.
Remember, if you’re ever unsure about whether or not you should add fertilizer, you can run a soil test before hand. Pick up some Bone Meal from Nursery Land here or browse our hundreds of products at wildwood.express
Have a suggestion or question?
Sign up
here for more blogs dedicated to better gardening!