Have you ever wanted to preserve the beauty of a flower and turn it into a work of art? With the right tools and techniques, pressing and preserving flowers can be an enjoyable craft that can be used for decorating or gifting. This guide will provide all the information you need to get started pressing and preserving flowers for crafting and decorating. We’ll cover topics such as what materials are needed, how to press flowers and different methods of preservation. Not to mention it’s the perfect Mother’s Day Activity!
Pressed Flowers

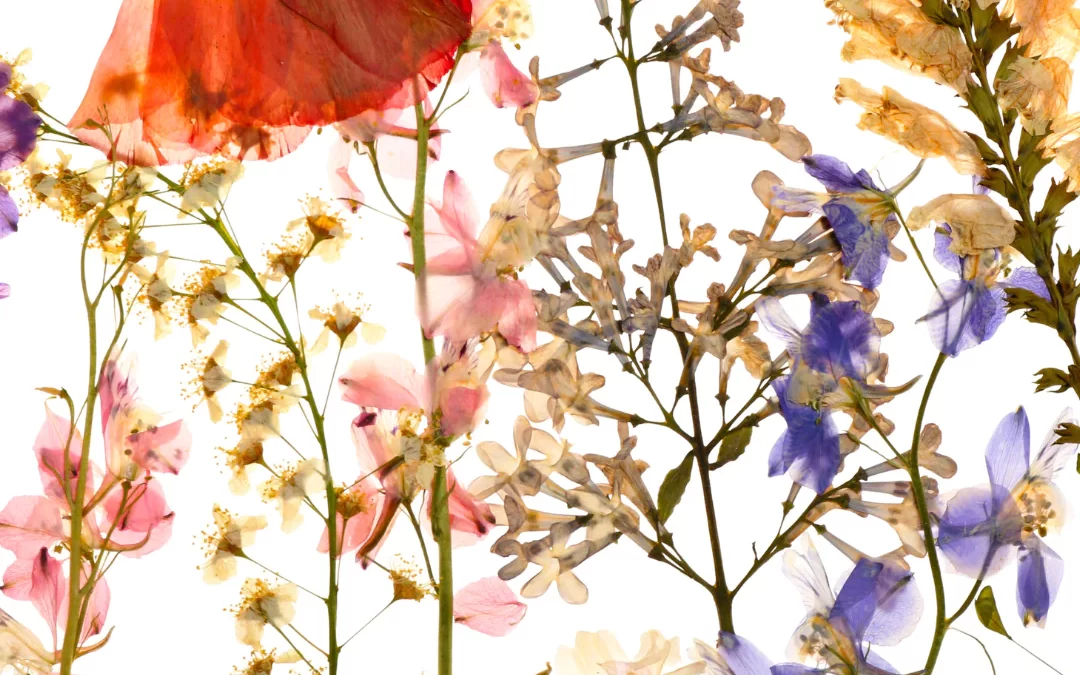
Flower pressing is an age-old craft that has been used to preserve and decorate flowers for centuries. The art of flower pressing is one of the oldest known crafts, and its use in preserving and decorating flowers has been around for centuries. From ancient Egyptians to modern-day artists, the practice of pressing flowers has been used to create beautiful works of art that can be kept for years.
What You’ll Need

- A heavy book
- Large brick or rock
- Hanger or hook
- Fresh flowers
- Newspaper
- Tissue paper
- String
- Scissors/pruners
Choosing Your Flowers

Picking the right flowers for pressing is key, as the type of flower will determine the outcome of your project. Preparing the flowers before pressing or hanging is also essential, as it will ensure that they preserve their vibrant colors and shapes.
For the best results in preserving your flowers, you should always pick them on a day with no chance of rain. Otherwise their color and texture may be compromised when drying or pressing.
Tip: The most ideal time to pick flowers is in the morning when dew has already evaporated. Make sure you do it before their full bloom stage for maximum freshness. Some specific types of flowers are known to open more as they dry.
Pressed or Dried Flower Techniques
Preserving flowers is a popular craft that requires time and patience. Fortunately, there are now a few methods available that allow you to create beautiful pressed flower art with minimal effort. Whether you choose to use pressed flower techniques or hanging techniques, you can create beautiful artwork with ease.
Pressed Method

Follow the instructions below to make beautiful, timeless creations with dried flowers. With the pressing method, you can create stunning framed pieces of artwork that will last forever! It’s sure to be an enjoyable activity with endless possibilities for you & Mom.
1.) Select a piece of cardboard that is almost the same size as your book. Place a newspaper (also of comparable dimensions) atop the cardboard, followed by a tissue paper (which should be roughly the same size as well).
2.) Arrange the flowers on the tissue paper in such a way that none of them overlap or hang off the edge. Start the preparation process by placing a piece of tissue paper over the flowers, then newspaper on top of that and finally cardboard. Do this in layers until all your flowers are ready to be stored.
3.) Once your stack is assembled, secure it with a heavy book and a brick or stone. Then let gravity do its job; it should take two to four weeks to settle.
Hanging Method

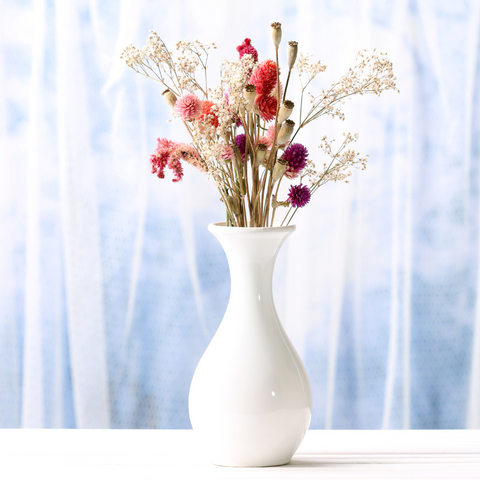
Flexibility and shape retention of dried flowers is key when it comes to making dried flower vases or for shadow boxes. We recommend the hanging method for best results. It’ll preserve the original shape of your blossoms and make them look stunning!
1.) Trim off unnecessary leaves, gather the flowers in petite bunches and secure them with string, yarn or elastic bands.
2.) Hang your flowers in warm, dry, and dark area upside down on a hanger or hook in order to preserve them.
3.) The process of drying flowers can take anywhere from a couple of weeks to several days, depending on the type of flower, the humidity and temperature in the environment. To ensure that your flowers dry properly and retain their vibrant colors, make sure to check them every two to three days – they should be dry to the touch when done.
Did we mention the nursery is filled with blooms, including our famous hanging baskets? Be sure to stop in with Mom this weekend, to collect all your favourite blooms for this memorable Mothers Day activity.

